Red Ink Bat-Making Process
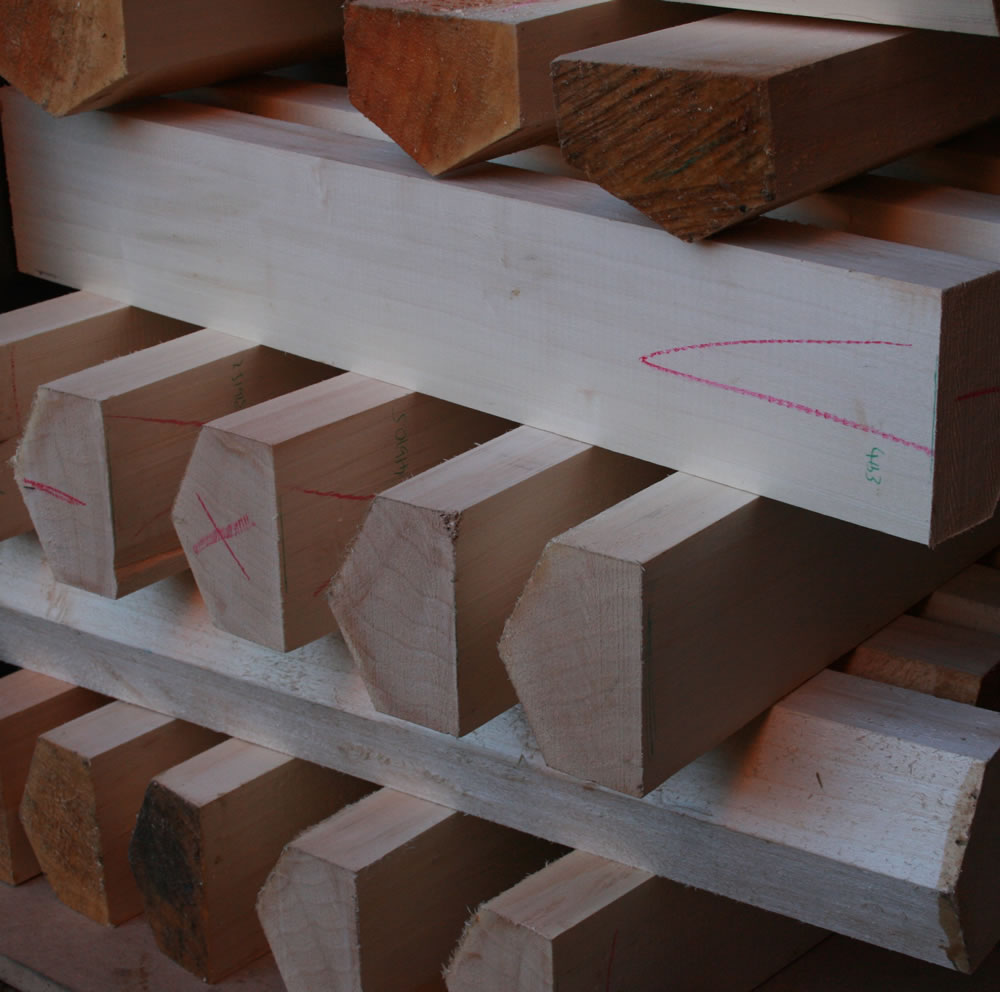
Step 1 – Machined Clefts
Each raw cleft is machined down to size and the face is planned to reveal the playing surface
The clefts are checked for imperfections and defects, and regraded (if required) to ensure a consistent product.
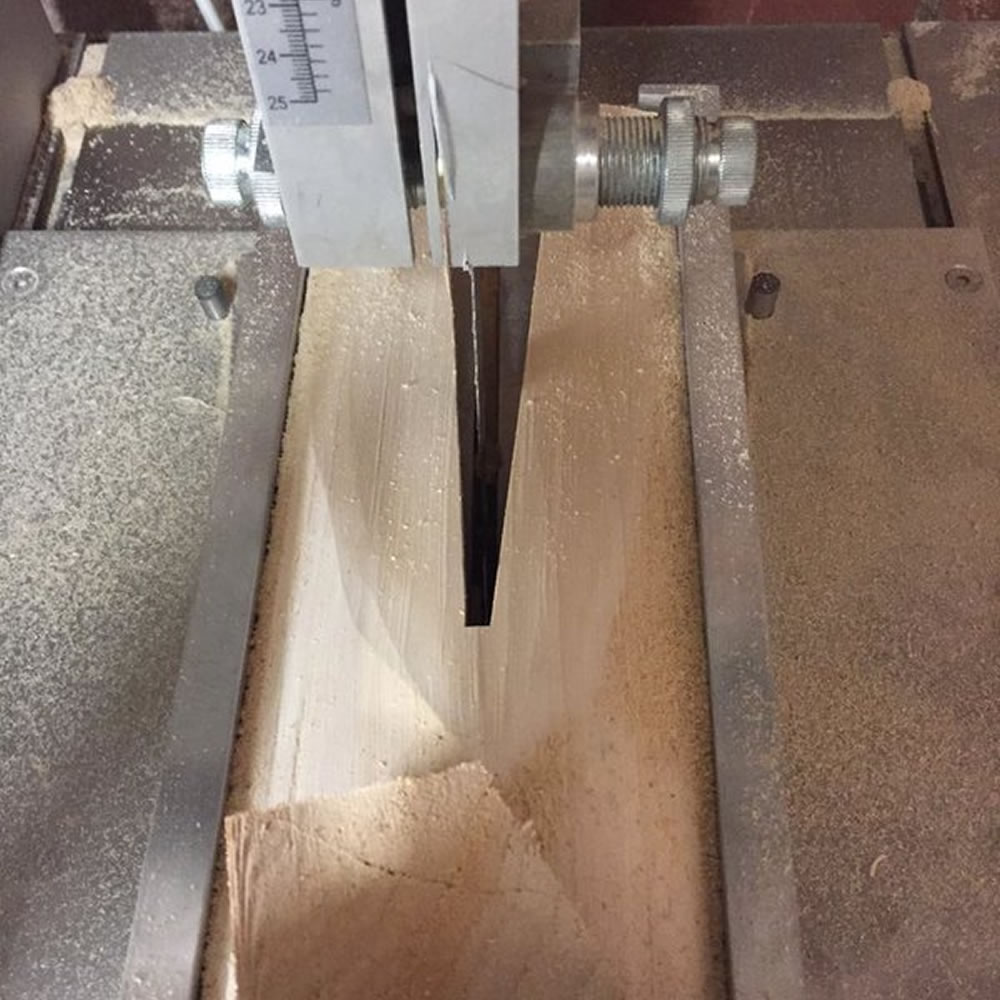
Step 2 – Handle Fitting
The clefts are then spliced using a custom made splicing jig. A handle is cut to mirror the cleft to ensure a perfect tight fit. The handle is fitted using a strong wood glue and is left to dry overnight in an upright position.
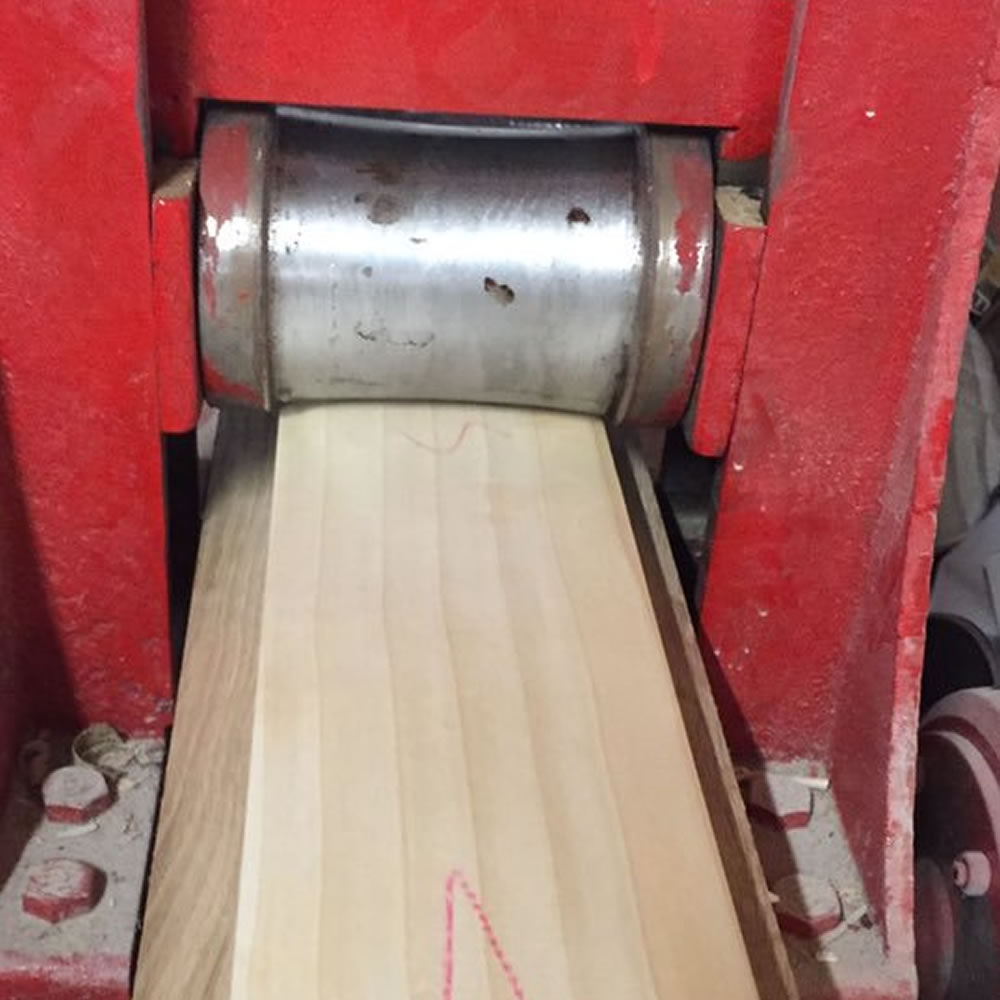
Step 3 – Pressing
Once dry, the cleft is then pressed. This is one of the most important stages and is where the bat gets its ping. Each cleft is pressed individually to ensure each and every bat performs to the highest of standards.
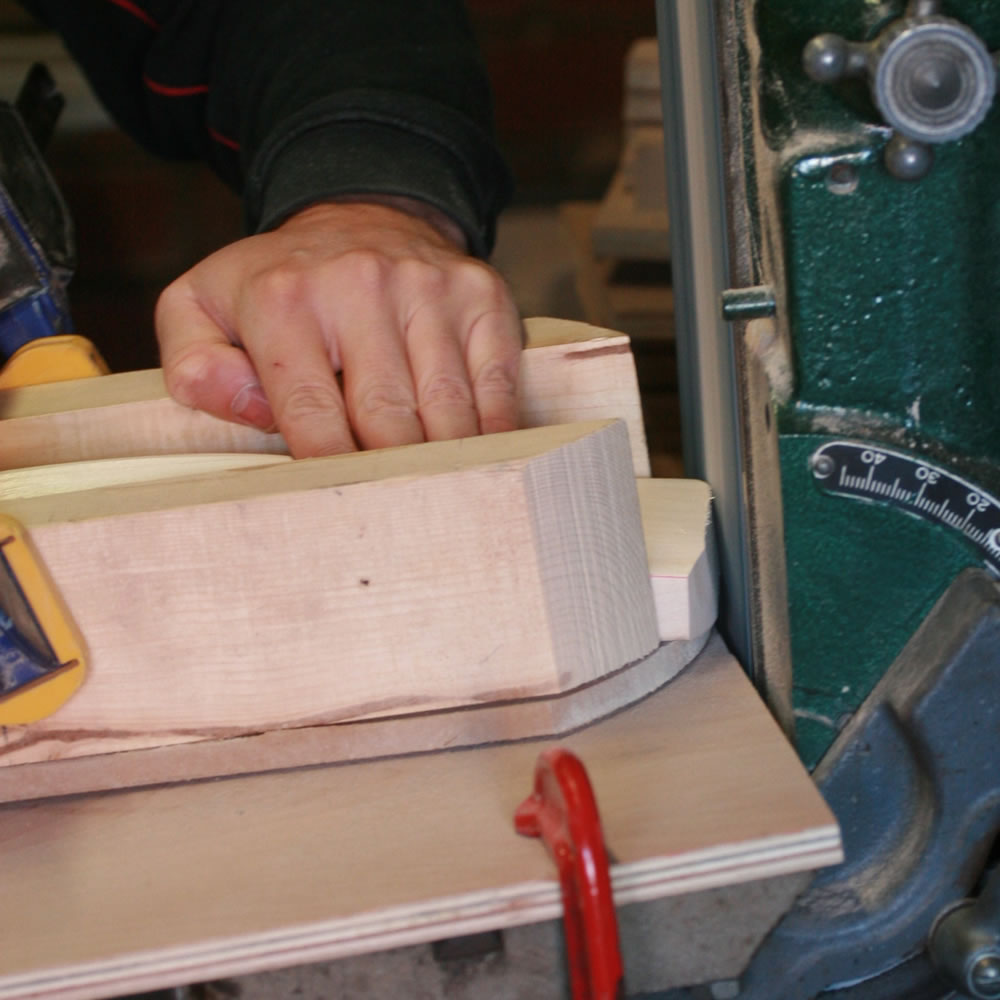
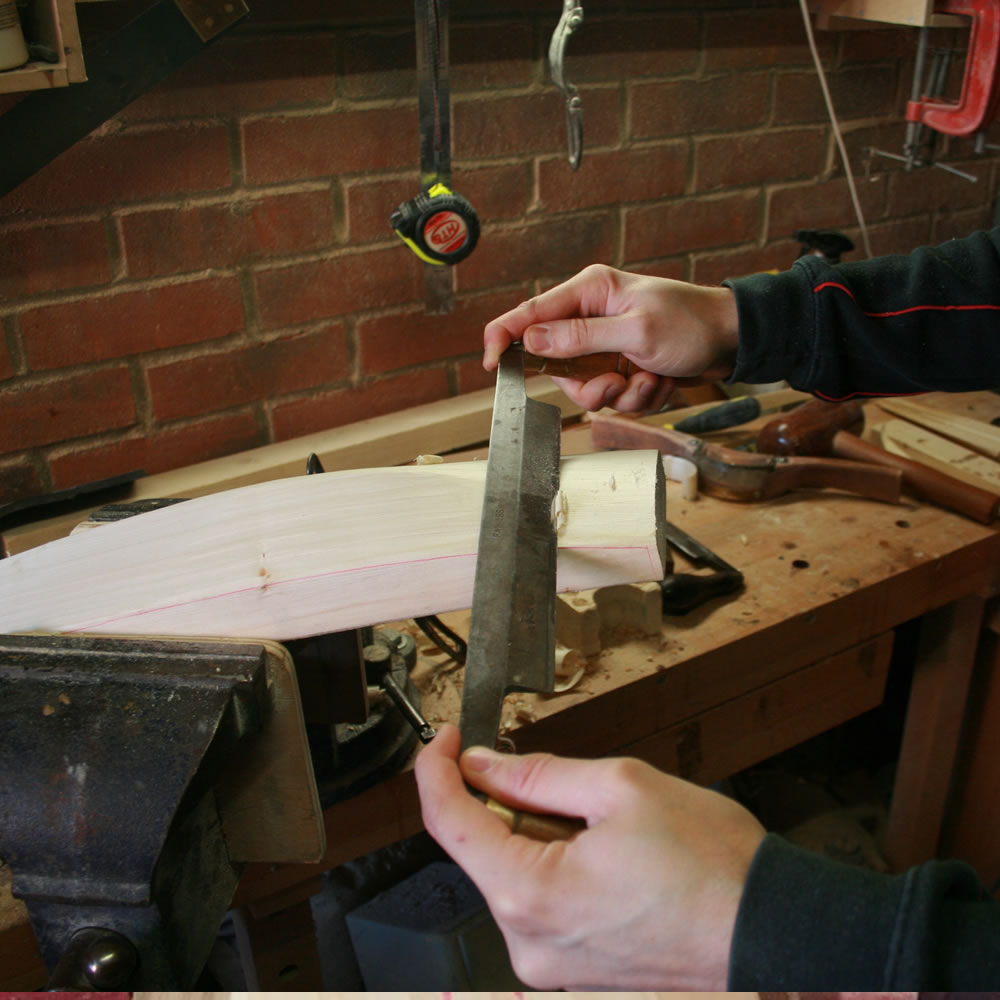
Step 4 – Shoulder and Toe Shaping
The cleft is then cut to size by trimming the shoulders and toe. Initial shaping is done using a razor sharp draw knife to quickly remove the willow.
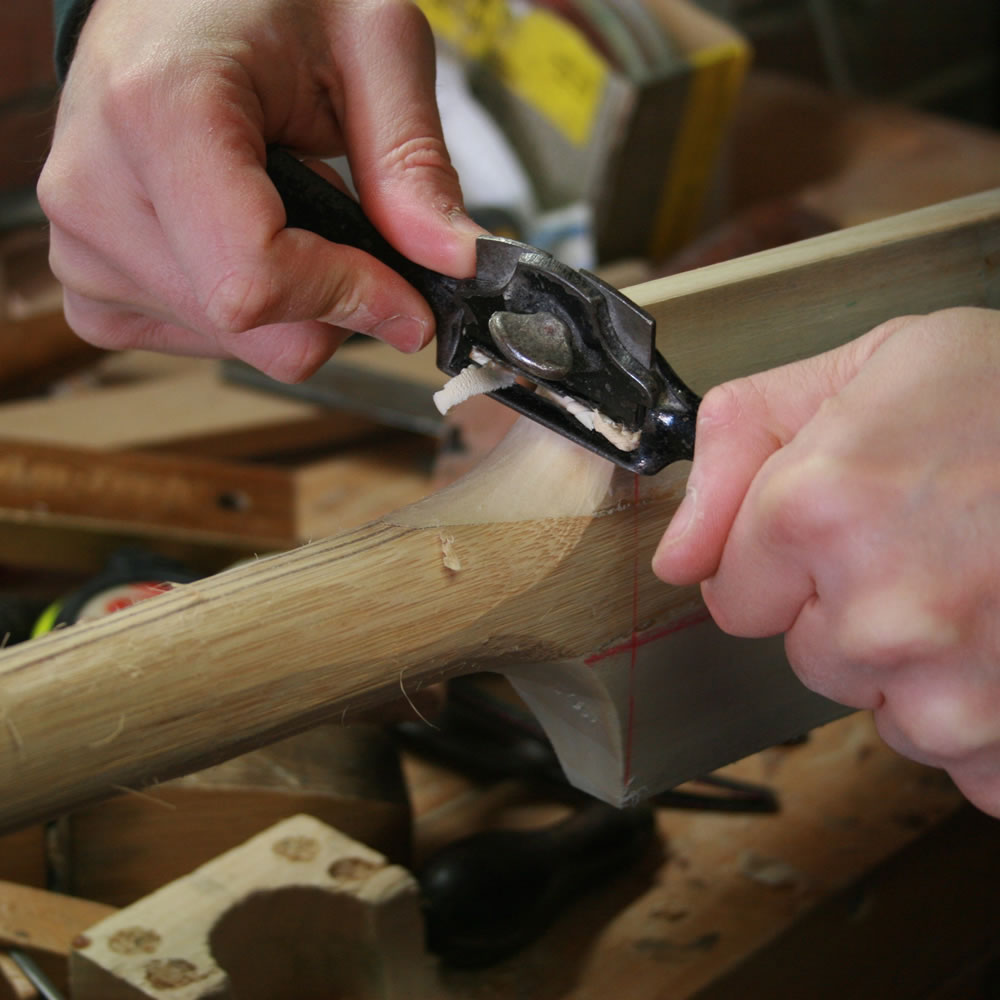
Step 5 – Shaping
Finer shaping is carried out using traditional wood planes, spokeshaves and travishers. The bat maker will regularly remove the cleft from the vice and check the balance, weight and pick up.
We will not move onto the next stage until we are satisfied with the bat we have produced.
Step 6 – Shoulder and Handle Shaping
The shoulders are shaped and blended into the handle first by careful use of a draw knife and then with a round soled spokeshave.
The handle is then rounded with a rasp to ensure a comfortable feel in the hands. Our handles are normally slightly oval at the base and rounded for the top hand.
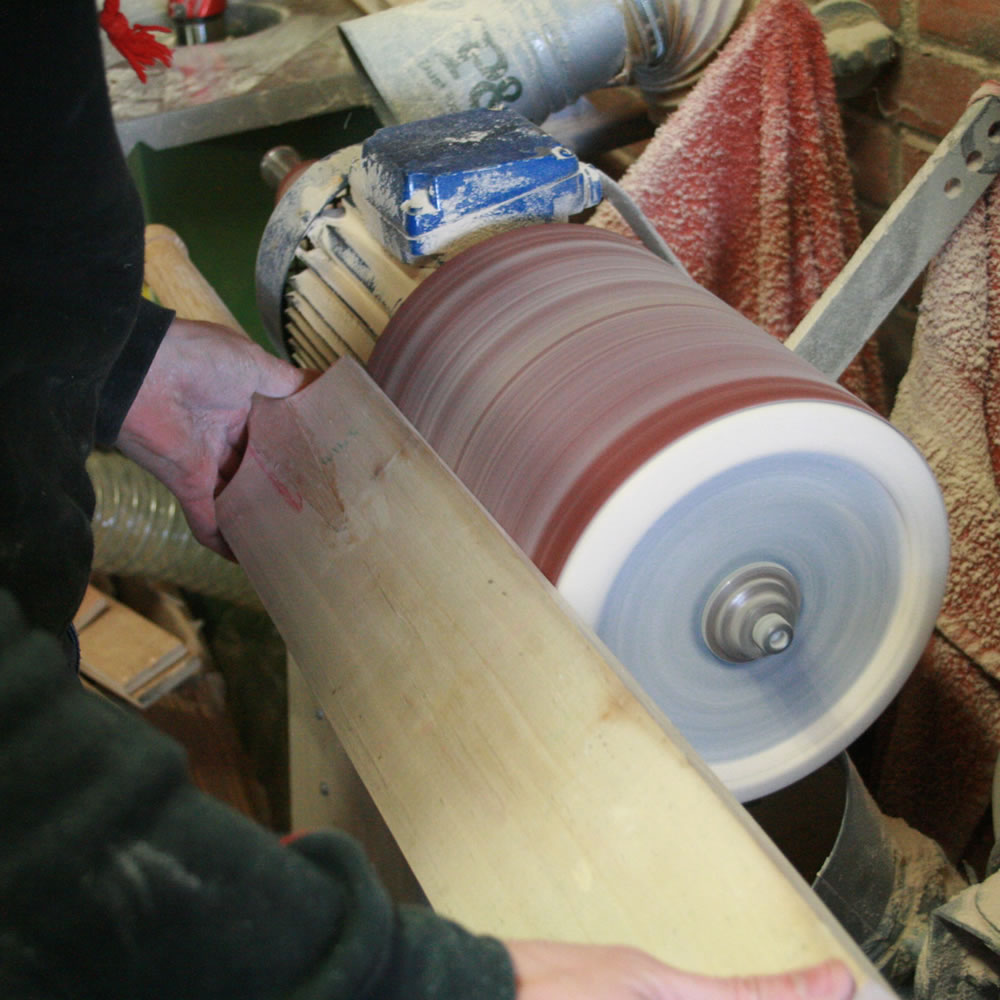
Step 7 – Initial Sanding
Once the bat maker is happy with the shape, pick up and feel the bat is then ready to be sanded. The bat will go through drum and machine sanding before being hand sanded to finish.
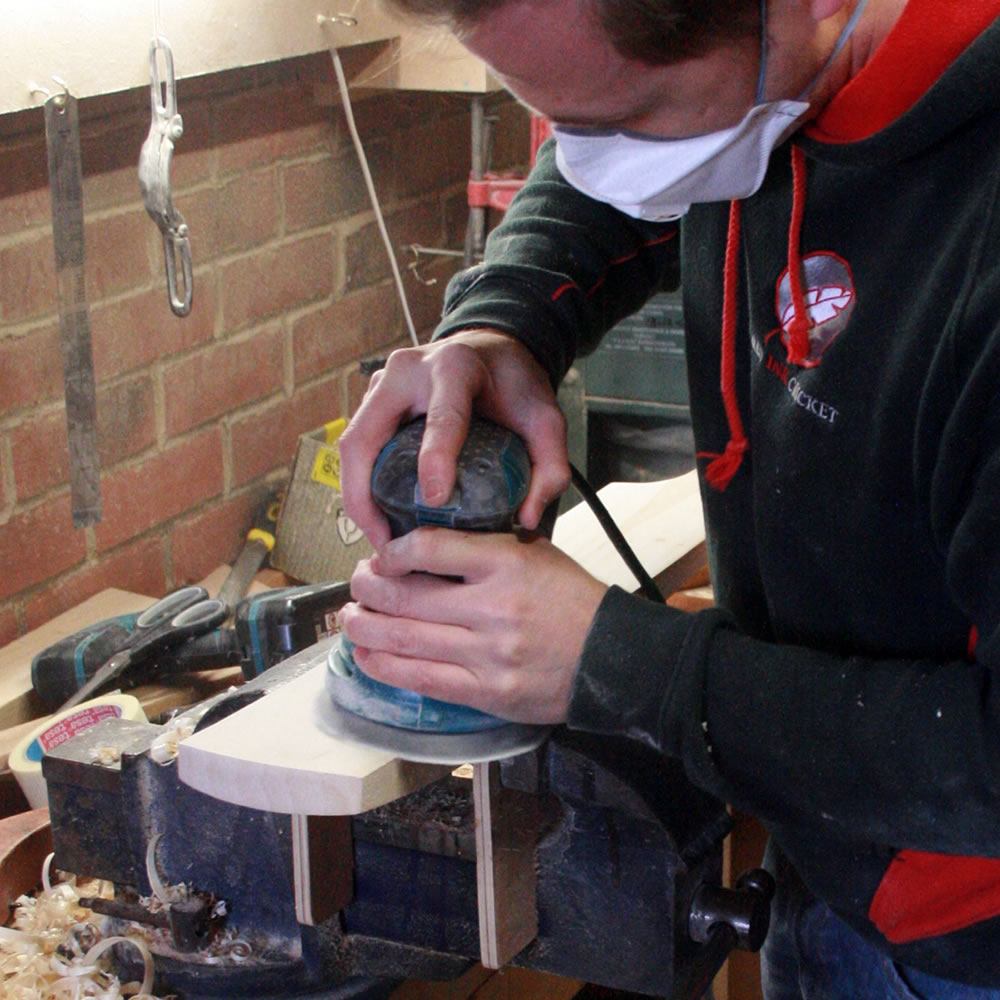
Step 8 – Fine Sanding
A total of around 7 grades of paper are used to ensure a smooth, blemish free finish. The cleft is then inspected to ensure a perfect finish. This is one of the most time consuming areas and we take great care to ensure the end product meets our high standards.

Step 9 – Knocking In
The bat is now knocked in and edges are rounded to protect from damage.
Step 10 – Binding and Polishing
The bat handle is bound using a good quality twine. This is glued in place and finished neatly at the base
The finished product is then buffed to give a high sheen and goes through its final quality check prior to being stickered up. Any flaws are rectified before moving on.
Your Red Inker is now ready to be gripped and stickers applied.

Step 11 – Your New Bat!
The finished product is now ready. Welcome to Red Ink!